How to Lay Out Wainscoting Panels
A clean layout is what separates DIY from built-in. Panels the same width, stiles that clear the outlets, a cap rail that lands on the window stool, and corners that look the same from both sides. This guide walks through the whole planning process, from the first measurement to the pencil marks on the wall, for framed wainscoting and for board and batten.
Video walkthrough: measuring and planning your layout
Watch once end to end, then use the steps below as a checklist while you measure. Most layouts repeat a panel + stile module with all stiles the same width; 3.5 in (a 1×4) is the common choice.
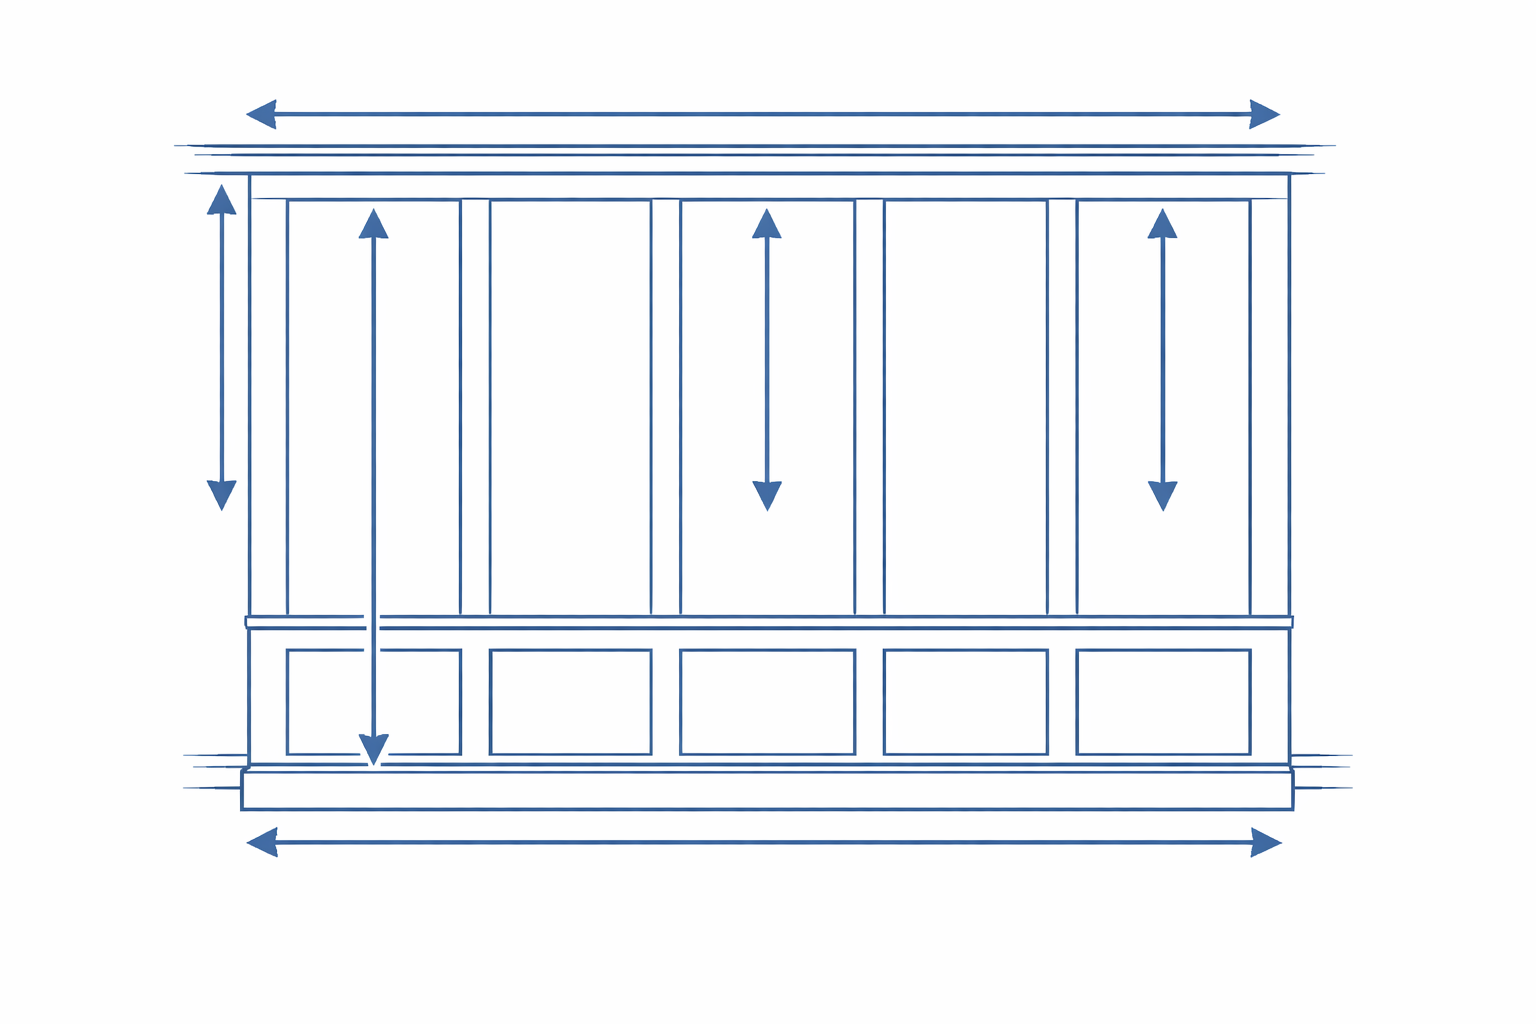
1. Measure the wall in multiple spots
- Width at the top, middle, and bottom of where the wainscot will sit. Use the smallest.
- Height at left, center, and right from the finished floor.
- Every outlet, switch, thermostat, window casing, door casing, and return, with its distance from the left corner.
- Existing baseboard height and window stool height.
Walls are rarely square. Build the plan around the wall you measured, not the one on the drawing.
2. Choose a height and a target panel width
Decide the wainscot height first, because it sets the panel proportions. Classic is 32 to 36 in; two-thirds height (60 to 66 in) is the modern and board-and-batten default. Then pick a target panel width: 16 to 24 in suits almost every room. Narrower reads traditional, wider reads modern. The panel sizes guide has tables by ceiling height and room.
3. How to space wainscoting panels evenly
Even spacing is arithmetic. With wall width W, end stile E, internal stile S, and panel count P:
panel width = (W − 2E − (P − 1) × S) ÷ P
For a 120 in wall with 3.5 in stiles: 5 panels give 19.8 in each, 6 give 16.4 in. Try two or three counts and pick the one closest to your target. Then write down the layout marks: the cumulative distance from the left corner to the left edge of each stile. For the 5-panel example they are 0, 23 5/16, 46 5/8, 69 7/8, 93 3/16, and 116 1/2 in. The wainscot panel calculator prints these on a ruler under the drawing.
4. Avoid skinny end panels
A sliver panel beside a door or in a corner will look wrong forever. Keep every panel at least half the width of the main panels, and ideally the same width. You have three levers: change the panel count, change the stile width, or put the leftover into the end stiles, which can be wider than the internal stiles without anyone noticing.
5. How to lay out wainscoting around windows and doors
- Treat casings as stiles. The door or window casing becomes the end of that run. Run the cap rail into the casing side, or stop it with a mitered return if the casing is thinner than the cap.
- Split the wall into runs. Left of the door, right of the door, and under the window are each their own layout with their own panel count. Aim for the same panel width across runs, within an inch.
- Under a window, center a panel or a stile on the window centerline. Enter the window center as the Feature Center in the calculator and use Snap to Center.
- Sill height: if the cap rail lands within two inches of the window stool, move it to meet the stool exactly or drop it well below. Near misses look like mistakes.
6. Outlets and switches
Outlets belong inside a panel field, never across a stile, and ideally centered in the panel or aligned to one edge of it. If a stile lands on an outlet, shift the whole layout by widening one end stile and narrowing the other, change the panel count, or move the outlet a stud bay over. Add a box extender so the receptacle sits flush with the new surface, and cut the panel opening 1/8 in oversize so the cover plate hides the edge.
7. How to handle wainscoting at corners
- Every wall gets its own end stile at each corner. Do not try to share one stile between walls.
- Inside corners: one stile butts into the face of the other, so it shows its full width while the other shows its width minus one board thickness. Cut the second stile 3/4 in wider so both faces read the same.
- Outside corners: miter the stiles or use a corner board that wraps both faces. Cap rail and base rail get outside miters.
- Consistency over math: if one wall wants 19.8 in panels and the next wants 20.4 in, that is fine. A jump of more than an inch or two between adjacent walls is what the eye catches.
8. Board and batten layout
The same formula applies, with battens in place of stiles and open spaces in place of panels. Aim for 12 to 24 in between battens, most often 16 to 20 in. Battens do not need to hit studs: they are glued and face-nailed into the drywall, or into a plywood or MDF backer board if you want a smooth field. Use the board and batten calculator to compare space counts and center the layout on a bed, vanity, or window.
9. Mock it up before you cut
- Run painter's tape vertically at every layout mark and horizontally at the cap height.
- Stand in the doorway and at the far side of the room. Check spacing at corners and beside casings.
- Live with it for a day. Change the count or height now, while it is free.
- Transfer the marks to the wall with a level, then move on to the installation guide.
Budgeting first? The cost estimator prices material and labor by style, and the cut list guide turns the finished layout into a shopping list.
Wainscoting layout FAQ
- How do you space wainscoting panels evenly?
- Subtract every stile from the wall width and divide the remainder by the panel count: panel width = (wall − 2 × end stile − (panels − 1) × internal stile) ÷ panels. Every panel comes out identical. Mark the cumulative distance to each stile's left edge on the wall and check the last mark against the far corner before nailing anything.
- How do you lay out wainscoting around windows and doors?
- Treat the casing as a stile. Run the cap rail into the side of the casing or let it die into a return, and adjust the panel count on either side so the panels closest to the casing are close to full width. Never leave a panel narrower than half the others beside a door.
- What do you do about outlets in wainscoting?
- Outlets should land inside a panel field, never on a stile. If a stile would cross an outlet, shift the whole layout with the end stiles, change the panel count, or move the outlet. Extend the box with a box extender so the cover sits flush on the panel surface.
- How do you handle wainscoting at corners?
- Every wall gets its own end stile at each corner. At an inside corner the two stiles meet and one appears narrower because the other overlaps it; add that thickness to the second stile so both faces read the same width. Keep the panel width within an inch from wall to wall rather than forcing identical math.
- How far apart should board and batten be?
- Twelve to twenty-four inches between battens, with sixteen to twenty the most common. Pick the space count that lands in that range and clears the outlets. Battens do not need to hit studs; they are glued and nailed to the drywall or to a board backer.